Showing posts with label DIY. Show all posts

Sunday, February 25, 2018

How to Make a Dry Erase Menu Board

Last week I got a little board and decided to do something kind of crafty.

I made a dry erase menu board for our kitchen counter.  It was extremely easy and took about 15 minutes.

I picked up an 8x10 picture frame from Home Goods.  Then I went to Hobby Lobby and picked up some patterned paper.  I wanted something pretty, but not too dark.  I also got two different kind of stickers...one package of capital letters, and one package of lowercase letters.


Patterned paper usually comes in 12x12 size, so I had to cut it down to fit the frame.  I just took the paper that comes with the frame to use as a template.


Then I added the stickers.  I just put 'Dinner' across the top and SMTWTFS down the left side.  I didn't make it too difficult, I just eyeballed it.


Then I just slipped it into the frame.


All that was left was getting a dry erase marker.  Dry-erase markers work perfectly on glass!

I chose this one (Target) that came with a little eraser on the tip.


I would suggest only using black.  On glass, other colors won't show up very well.

And then I filled in my menu for the week!  Last week was different because we had 3 meals delivered to us by different people.  But it was still helpful because I knew what family was coming on what night.  And as you can see, the black marker worked great!


Super easy project....total cost was $20.  $10 for the frame and $10 for the stickers and paper.  It could be hung on the wall too I suppose, but I just set it on our countertop.

That's it!

Saturday, February 24, 2018

How to Glue a Puzzle


My sister sent me this great puzzle of book covers a couple of weeks ago.  After I finished putting it together, I didn't want to take it apart!  I wanted to keep it!

So I did.

First, put together your puzzle (yes, I'm captain obvious).


Once your puzzle is finished, you'll need some wax paper and tape.  Cut strips of wax paper and tape them together...enough to slide underneath your puzzle. I used three sheets for mine:


Carefully move your puzzle to a 'safe' surface if it isn't on one already.  Ours was originally on our wooden writing desk, so my husband and I moved it to the island in the kitchen.  Depending on the size of the puzzle, this may be a two person job.

Take a dusting cloth and wipe off the puzzle.  Puzzles can be very dusty, so wiping it off will help the Mod Podge go on smoother.

Now it's time for Mod Podge.


I think that any Mod Podge will work, but I got the 'Puzzle Saver' kind.  It looks just like white glue.  All you do is brush a layer over the whole puzzle.  It may be hard to see in some spots.  It goes on white (but don't worry, it dries clear).


Once the Mod Podge is dry (I let mine dry about 20-30 minutes), flip the puzzle over, and wipe off the back with a dust cloth.


Then brush the back side with Mod Podge as well.


Let it dry for 30 minutes.  And then it's done!  I wanted to hang it in the library, because, well, BOOKS!

I just added some Command strips to the back and slapped it up on the wall.


(I spy ears)

I love it!

And can I just say that I love our little library.  It's just an odd little room full of odd angles and slanted walls and mis-matched furniture, but I still love it.


It's an easy project and I love the end result!

Saturday, November 25, 2017

Shower Tabs

This fall has been hard on my health, my sinuses in particular.  A steamy shower helps, but I wanted to add something to the shower to make it more pleasant.  Imagine like a Vicks scented shower. 

So I made my own shower tabs.


Here's what you'll need:

1 cup baking soda
1/3 cup water
Lavender, eucalyptus, peppermint essential oils
Muffin tin liners

Mix the baking soda and water until it's a thick paste.  Add the mixture to the muffin cups.  Bake at 350 for at least 20 minutes (until hardened).


Once they have cooled, add essential oil drops to each 'muffin'.  I added 3 drops of each kind to each muffin, although next time I think I will add a bit more.

Also, I think I may have doubled this recipe....I made 12 muffins.  

Store in an airtight container.


To use, remove the muffin liner and place at least 6 inches from the shower drain.  Take a hot shower and enjoy the soothing vapors!!


Monday, December 26, 2016

Kitchen Cabinets

Wow, it's been a while!  I was going to do just one giant post about everything that's going on since I posted last, but I decided to break it up a little.  I basically just went through the photos on my phone to see what we've been up to.

In the beginning of October, we repainted our kitchen cabinets.  This was a pretty big project.  We've been wanting to do it for years, but have put it off because, well, time.

Here's the before:


It was a mess.  We tapped off the kitchen from the rest of the house, covered everything up, and used our garage as the painting area.  Then we sanded, primed, and painted.  

And here are the beautiful afters:


It looks sooooo much better!  It was a ton of work, but so incredibly worth it!  The kitchen looks so much bigger and it just brightened everything up!

Monday, December 28, 2015

Cord Control

You've seen charging stations before, right?  You know, the cute little boxes that charge your phones, tablets, etc. and keep cords neatly corralled and out of sight?  They are adorable and a great idea in theory, but they just never worked for me.  I had one of those cute little boxes once and it was fine for my phone but it didn't work for my tablet and I ended up always yanking the cords through that tiny hole and then I would get frustrated every night while trying to plug my stuff in and I just got mad and gave it to Goodwill.

I don't have a lot of patience.

So for the past few months, I've been living with this mess next to my side of the bed:


How awful is that?!?

There had to be a better way.  I looked on Pinterest and all that came up was box like charging stations and I knew that just wasn't going to work for me.  I wanted to have easy access of all of the cords.

So I came up with something else involving Command Strips (of course....I LOVE Command Strips!).


I just used the standard velcro strips for this project.  I attached two of them to the side of my power strip:


Then I stuck my power strip to the backside of my night table (about 6 inches from the top):


Then I plugged my lamp in, and also my iPad charger and my phone charger and wove the cords through the little black cord file that I got at Target years ago.


And....that's it!  Done!  My cords are now tucked away behind the night table and they should stay that way since the power strip is off the floor (no sliding around).  And I have full access to my cords.  No more frustration!

Much better:


Sunday, November 29, 2015

DIY Starfish Art

Ever since we returned from San Diego a couple of weeks ago, there has been a 'Seaport Village Shell Co.' bag sitting in our guest bedroom.  When we were there, I purchased 5 starfish.  I had no clue what I wanted to do with them, but knew I wanted to display them somehow.

But starfish are tricky...you can't really put them in a jar or stack them.  So I decided I wanted to hang them.

I went to Target tonight in search of a frame.  At first I picked out a shadowbox, but then came across this memo board that I liked MUCH better:

It has a sand colored fabric background, which was perfect.

I then unwrapped my starfish:

I first thought about using my hot glue gun to adhere the starfish to the fabric.  But me plus hot glue guns do not work well together.  Plus I didn't want the glue to squish out the sides.

So I decided on Command Strips:


Both my husband and I have a strong love for Command products for hanging items.  They are sooooo strong and will not ruin your walls.  So I gathered the ones we had and then I started cutting them down to size.


I then adhered a thin Command strip to each leg of each starfish.  I then positioned my stars how I wanted them within the frame.  Then one by one, I peeled off the backing on each of them and stuck down each starfish onto the fabric.  It worked great!  The picture below is the best one that really shows the true colors of the starfish.


And now here is the finished product after my hubby hung it up in our hall bathroom:


I love how it turned out!  I was a little worried about the bottom left star...it definitely stands out the most and I had to scrape some of the pokey stuff (technical term there) from the back side of it to get the Command strips to stick.  But....so far, so good.

This project only took me about 20 minutes.  The memo board was $24.99 at Target and the starfish were $14 total from San Diego.  Not too bad!!!

And that is my DIY project for the year ha ha.

Thursday, June 13, 2013

How to Make Little Tiny Bear Beds Out of Altoid Tins for Your 4-Year-Old Niece

How's that for a long blog title?

So a few weeks back, I was perusing the many blogs that I read on a daily basis, and one of them had a link to the most adorable little bed made out of an Altoid tin.

It had a little 'sheet' attached to the bottom, a pillow, a blanket, and a bear.  Only it was all hand sewn and felt.

I don't sew.  Not even little stuff like that.  But I loved the idea so much that I became determined to re-create it somehow for my niece.

Once I had brainstormed,  I went to Hobby Lobby and headed straight for the dollhouse section.  Baby bears!  Little tiny ones!  And even tinier ones!  Then I found a little package of flour and sugar sacks...pillows!

Then I hit up the fabric section.  I went to the end of one of the aisles which is known as the 'remnant' section:  the miscellaneous scraps that are, well, remnants.  I picked out 4 different kinds and was then finished. (I highly suggest this....the remnants were perfect, and were priced between .47 - 5.00.)

Here's my supplies all laid out and ready to go:


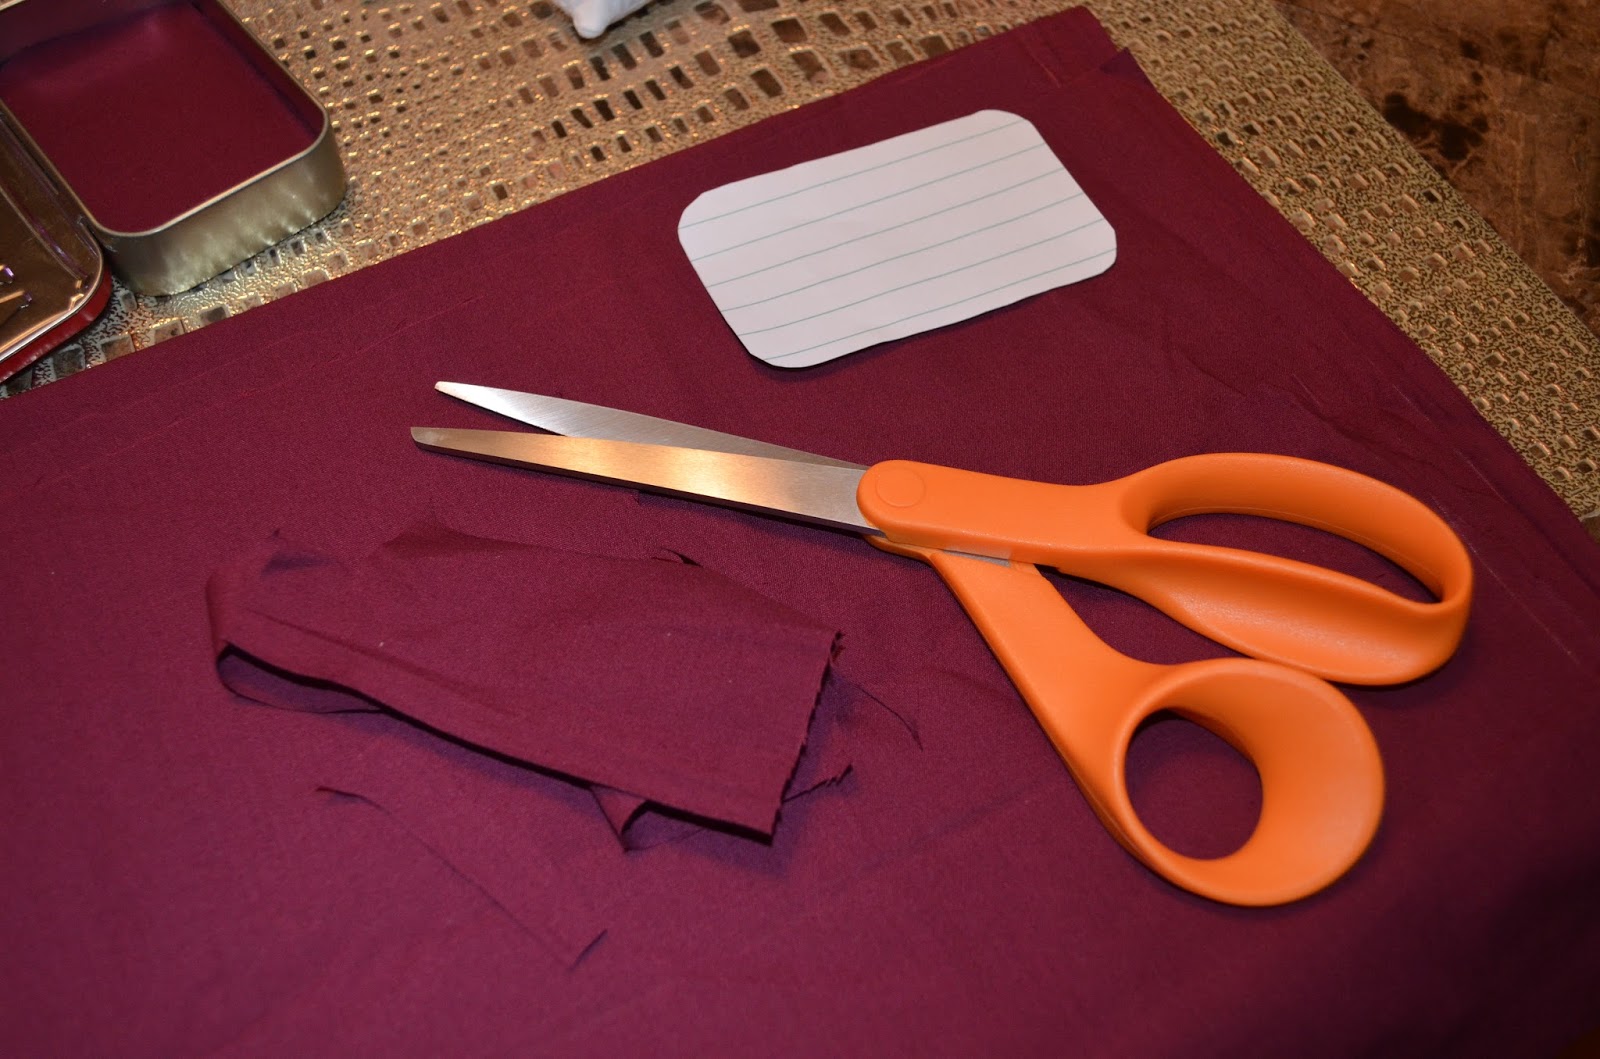
The first thing I did was make a template to use for the 'sheet' on the bottom of the tin.  Simple...I just traced the bottom of the tin on paper and then pinned it to the fabric and cut it out.  It is very important to have good fabric sheers.  Mine are Fiskars....I love them!

I cut one one sheet, and adhered it to the bottom of the large Altoid tin with adhesive called 'Liquid Stitch' (also found in the fabric area at Hobby Lobby).  At first I wasn't sure it would work, because it's made to adhere fabric to fabric, not fabric to metal.  But it worked perfectly!

I decided to do two layers of sheets though.  One just seemed too thin and some parts were a little blotchy because of the adhesive.  But two sheets worked well.

Then it was time for the pillow placement.

I looked at my assortment of flour and sugar sacks, and picked the smallest one.


Hmm.


Houston, we have a problem.  The pillow worked fine when the tin was open, but it was too fluffy that I couldn't get the lid closed.

Fortunately, the pillows had a teeny tiny hole on one end where they had sewn the corners, so I got out my tweezers and took about 3/4 of the stuffing out.  So the bears' pillow wasn't quite as fluffy now, but at least they didn't get their heads smashed in when the tin closed.

Now it was time for the blanket.  I didn't get many pictures of this process, unfortunately I only got a picture of the final product:


There's not really an easy way to do this...I pretty much just eyeballed how much I would need, and then started cutting, folding, and using the Liquid Stitch to 'hem' the blanket.

Then it was time to tuck them in:


Awwwww!!

I pretty much did the same thing for the little tiny baby bear bed.


Except he didn't get a pillow.  His bed was just too small.  Babies aren't supposed to have pillows anyways.

"I want a blanket"

Okay.


His blanket is flannel.

Done!


I loved how they turned out.  Sure, they aren't hand sewn, but I think they're better!  The 'fancy' one that I found online was cute, but everything was attached.  The pillow, the blanket.  What fun is that?  The only thing that is attached on mine is the bottom sheet.  The pillow, blanket, and bears are all removable.  (if my niece loses them, I will gladly make more.  I have extra pillows and loads of extra material!)  That's half the fun!  I used to hate it when things were attached on my toys.  (like a baby attached to the mama, etc.)

Hopefully my niece will have as much fun playing with them as I had making them.  They are boxed up and I'm sending them out tomorrow!


20 Years of Reading

20 years.  TWENTY YEARS OF READING. Okay, so technically this isn’t true.  I’ve been reading since I was 5.  So (here’s my age)…I’ve been re...